
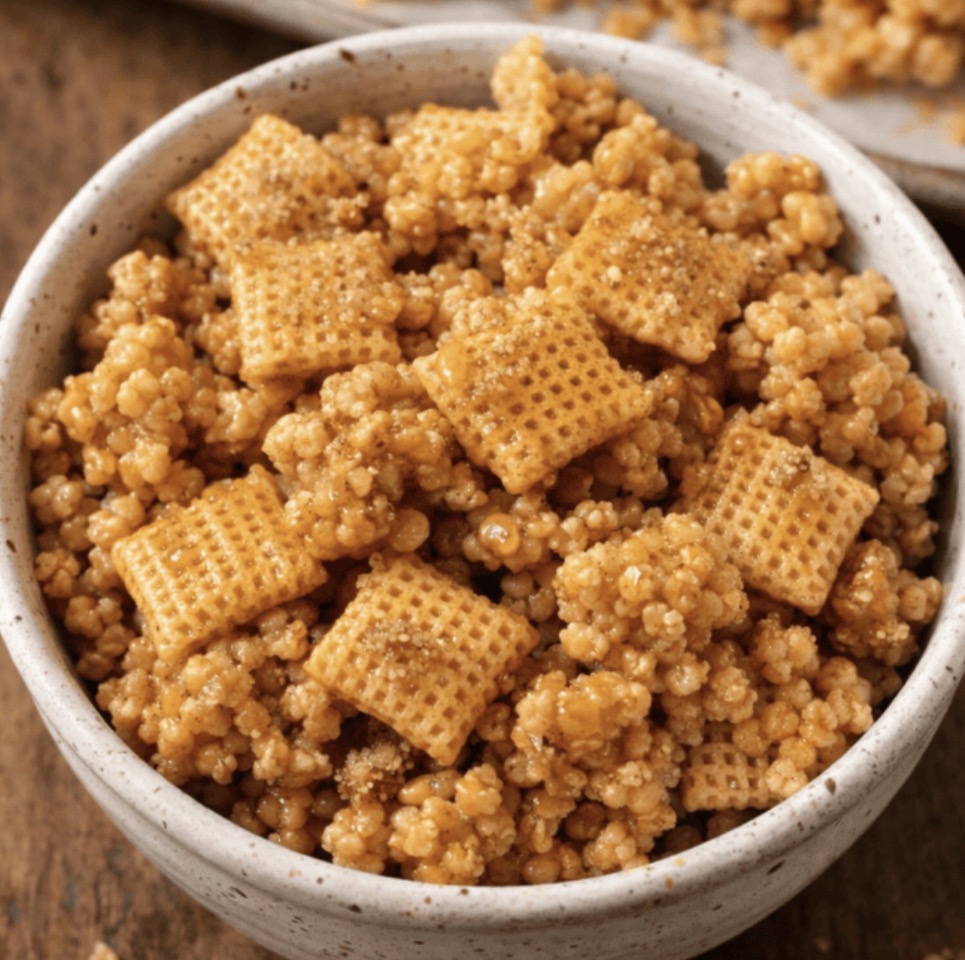
Why This Recipe Is an Absolute Keeper
Before we dive into the method, here’s why this salted caramel crackle will become a staple in your kitchen:
-
Simple ingredients. Rice Chex, Rice Krispies, butter, brown sugar, vanilla, cinnamon, and salt. That’s it!
-
Quick and easy. Ready in about 25 minutes from start to finish.
-
Sweet, salty, and crunchy. Every bite is perfectly balanced.
-
Rich, buttery caramel. It coats every piece of cereal.
-
Crispy, crunchy texture. The cereal stays crisp after baking.
-
Crowd-pleasing. Kids and adults alike devour this.
-
Perfect for any occasion. Snacks, game days, or holiday parties.
-
Budget-friendly. Simple, affordable ingredients.
-
Minimal cleanup. One saucepan, one baking sheet.
-
Beautiful presentation. Looks like it came from a fancy candy shop.
The Ingredients
This recipe uses simple, affordable ingredients that come together beautifully.
-
4 cups Rice Chex cereal – For a crispy, crunchy base.
-
2 cups Rice Krispies cereal – For extra crispiness and texture.
-
1 cup unsalted butter – For richness and a buttery caramel.
-
1 cup light brown sugar, packed – For sweetness and depth.
-
2 teaspoons pure vanilla extract – For warmth and depth.
-
1 teaspoon ground cinnamon – For warmth and spice.
-
1½ teaspoons kosher salt or coarse sea salt – For a sweet-salty finish.
Step-by-Step Instructions
Step 1: Preheat and Prep
Preheat your oven to 350°F (175°C). Line a large, rimmed baking sheet with high-quality parchment paper.
Pro Tip: Parchment paper prevents sticking and makes cleanup a breeze.
Step 2: Combine Cereal
In a large mixing bowl, toss together the Rice Chex and Rice Krispies cereals. Set aside.
Pro Tip: Use a large bowl so you have plenty of room to toss the cereal with the caramel.
Step 3: Start Caramel
In a medium, heavy-bottomed saucepan, melt the butter over medium heat.
Pro Tip: Use a heavy-bottomed saucepan to prevent scorching.
Step 4: Add Flavorings
Once the butter is melted, stir in the brown sugar, vanilla extract, cinnamon, and salt. Stir gently until the sugar begins to dissolve.
Pro Tip: Stir gently to avoid splashing the hot caramel.
Step 5: Boil
Bring the mixture to a steady, rolling boil while stirring continuously. Cook for exactly 2 to 3 minutes until the caramel noticeably thickens and lightens slightly in color.
Pro Tip: Stir continuously to prevent the caramel from burning.
Step 6: Coat Cereal
Remove from heat immediately and pour the hot caramel over the cereal mixture. Gently toss with a silicone spatula until the cereal is evenly and completely coated.
Pro Tip: Toss gently so you don’t crush the cereal.
Step 7: Bake
Spread the coated mixture into an even layer on the prepared baking sheet. Bake in the preheated oven for 7 to 9 minutes.
Pro Tip: Spread the mixture evenly for uniform baking.
Step 8: Cool and Break
Remove from the oven. Allow the crackle to cool completely on the pan. Once completely cool and hardened to the touch, break into bite-sized clusters.
Pro Tip: Don’t rush the cooling process—the caramel needs to harden completely.
Step 9: Store
Store in an airtight container at room temperature for up to 7 days.
Pro Tip: Keep it in an airtight container to maintain crispiness.
How to Serve It Like a Pro
This salted caramel crackle is delicious on its own, but a few simple touches make it even better:
-
With a drizzle of melted chocolate – For a chocolate-caramel twist.
-
With chopped nuts – Pecans, walnuts, or almonds for crunch.
-
With crushed pretzels – For extra sweet-salty crunch.
-
With a sprinkle of flaky sea salt – For a sweet-salty finish.
-
On a snack platter – Arrange with other treats.
-
In a gift bag – Package in a pretty bag with a ribbon.
-
With a cup of coffee – The bitterness balances the sweetness.
-
With a glass of cold milk – Classic pairing.
-
With a glass of hot cocoa – For a cozy treat.
-
With a glass of champagne – For a celebration.
Variations & Swaps (Because Life Happens)
One of the best things about this recipe is how flexible it is. Here are some easy ways to make it your own:
Make It with Different Cereals
-
Corn Chex – For a different flavor.
-
Wheat Chex – For a heartier crunch.
-
Cheerios – For a milder flavor.
-
Puffed rice – For a lighter texture.
Make It with Different Mix-Ins
-
Chopped nuts – Pecans, walnuts, or almonds for crunch.
-
Crushed pretzels – For extra sweet-salty crunch.
-
Mini chocolate chips – For chocolate lovers.
-
Dried cranberries – For tang.
-
Shredded coconut – For a tropical twist.
-
Toffee bits – For buttery crunch.
Make It Spicier
-
Add cayenne – A pinch for heat.
-
Add nutmeg – A pinch for depth.
-
Add ginger – A pinch for zing.
Make It with Different Toppings
-
Melted chocolate – Drizzled over the top.
-
White chocolate – For a beautiful contrast.
-
Caramel sauce – For extra gooeyness.
-
Flaky sea salt – For a sweet-salty finish.
Make It Vegan
-
Use vegan butter and vegan-friendly cereals.
Make It Gluten-Free
-
Use gluten-free Rice Chex and Rice Krispies.
Pro Tips for the Best Salted Caramel Crackle
-
Use a heavy-bottomed saucepan. Prevents scorching.
-
Stir continuously. Prevents the caramel from burning.
-
Boil for exactly 2-3 minutes. Any longer and the caramel will harden too much.
-
Toss gently. Don’t crush the cereal.
-
Spread evenly. For uniform baking.
-
Bake for 7-9 minutes. Just enough to set the caramel.
-
Cool completely. The caramel needs to harden completely.
-
Break into clusters. For a rustic, snackable treat.
-
Store in an airtight container. Keeps it crispy for up to 7 days.
-
Make extra. It disappears fast!
Frequently Asked Questions
Can I use a different type of cereal?
Yes. Corn Chex, Wheat Chex, Cheerios, or puffed rice all work beautifully.
Can I use salted butter?
Yes. Salted butter adds a nice contrast, but reduce the added salt to 1 teaspoon.
Can I make this without cinnamon?
Yes. Omit the cinnamon or swap it for nutmeg or ginger.
Can I add chocolate?
Absolutely! A drizzle of melted chocolate adds a delicious twist.
How long does this crackle last?
Store in an airtight container at room temperature for up to 7 days.
Can I freeze this crackle?
Yes. Freeze in a freezer bag for up to 3 months. Thaw at room temperature before serving.
Why is my caramel too hard?
You may have boiled it too long. Boil for exactly 2-3 minutes.
Why is my caramel too soft?
You may not have boiled it long enough, or the humidity was too high. Boil for the full 2-3 minutes.
Can I add nuts?
Absolutely! Chopped pecans, walnuts, or almonds add a delicious crunch.
Can I make this vegan?
Yes. Use vegan butter and vegan-friendly cereals.
Can I double the recipe?
Yes. Use two baking sheets and rotate them halfway through baking.
Is this recipe gluten-free?
Use gluten-free Rice Chex and Rice Krispies for a gluten-free version.
Storage & Reheating
Room Temperature
-
Store in an airtight container for up to 7 days.
Refrigerator
-
Not recommended—the refrigerator can make the caramel sticky.
Freezer
-
Freeze in a freezer bag for up to 3 months. Thaw at room temperature before serving.
Make-Ahead Tips
-
Prep Ahead: Combine the cereals up to 3 days in advance and store in an airtight container.
-
Make Ahead: Make the crackle up to 7 days in advance and store in an airtight container.
-
Gift Ahead: Package in a pretty bag or tin with a ribbon.
The Beauty of Simple, Sweet-and-Salty Salted Caramel Crackle
There’s something deeply satisfying about a recipe that delivers big flavor with minimal effort. This Salted Caramel Crackle is the kind of treat that makes people happy—the kind that brings everyone to the table with a smile.
It’s not fancy. It’s not complicated. But it is reliable, crowd-pleasing, and absolutely delicious. And isn’t that what great snacks are all about?
So keep Rice Chex, Rice Krispies, butter, brown sugar, vanilla, cinnamon, and salt in your kitchen. And when you need a simple, impressive treat that delivers big flavor with minimal fuss, you’ll know exactly what to make.
Final Verdict
Rating: 5 out of 5
Difficulty: Easy
Prep Time: 10 minutes
Cook Time: 15 minutes
Total Time: Approximately 25 minutes
Yield: About 8-10 snack servings
Cleanup: Minimal (one saucepan + one baking sheet)
Leftover potential: Excellent — store in an airtight container for up to a week
Best for: Snacks, game days, holiday parties, and anytime you need a crowd-pleasing sweet-and-salty treat