
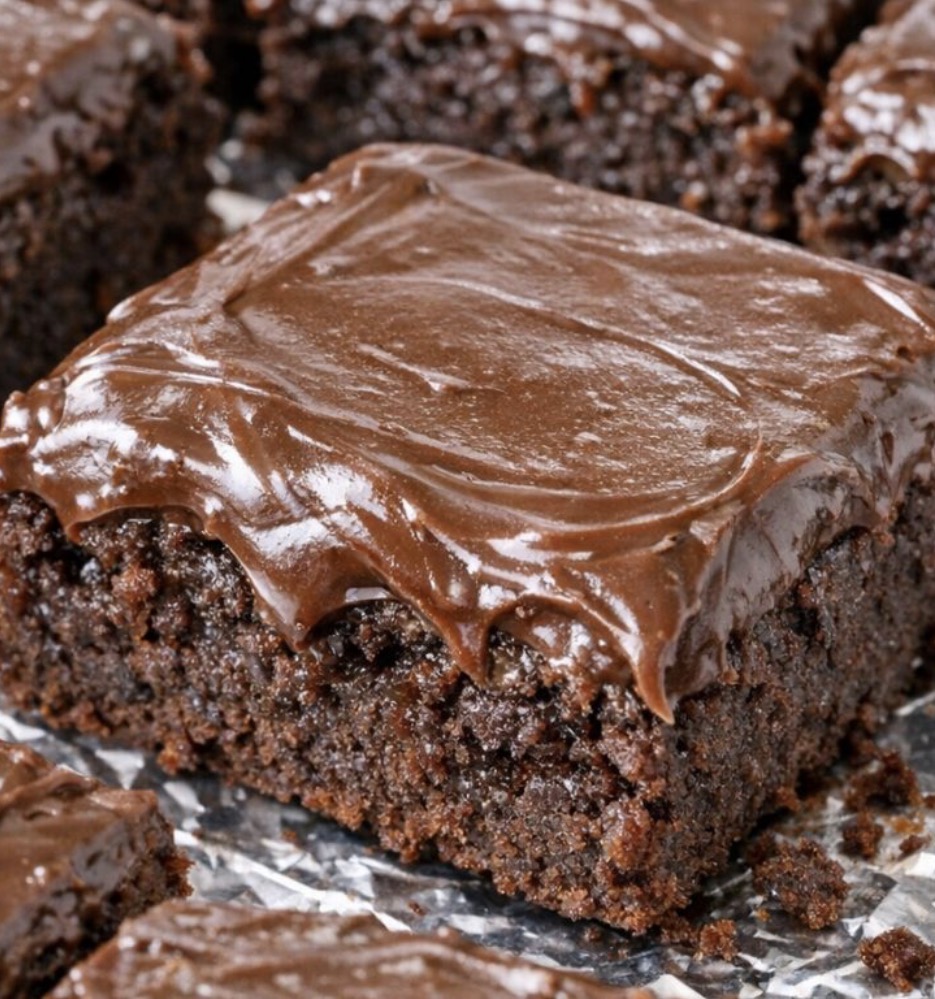
Why This Recipe Is an Absolute Keeper
Before we dive into the method, here’s why these lunch lady brownies will become a staple in your kitchen:
-
Just 4 ingredients. Chocolate fudge cake mix, butter, eggs, and powdered sugar. That’s it!
-
One bowl, one pan. Minimal cleanup, maximum flavor.
-
Ready in about 25 minutes. Perfect for busy weeknights or last-minute treats.
-
Rich, fudgy, and chocolatey. Every bite is pure indulgence.
-
Glossy, sweet frosting. It’s the classic lunch lady finish.
-
Crowd-pleasing. Kids and adults alike devour these.
-
Budget-friendly. Simple, affordable ingredients.
-
Minimal cleanup. One bowl, one baking pan.
-
Nostalgic and comforting. Tastes like childhood in every bite.
-
Perfect for any occasion. Bake sales, potlucks, or holiday trays.
The Ingredients
This recipe uses simple, affordable ingredients that come together beautifully.
-
1 box (15.25 ounces) chocolate fudge cake mix – For a rich, fudgy base.
-
½ cup (1 stick) unsalted butter, melted and slightly cooled, divided – For richness and moisture.
-
2 large eggs, at room temperature – For structure and richness.
-
2 cups powdered sugar – For the classic glossy frosting.
Step-by-Step Instructions
Step 1: Preheat and Prep
Preheat your oven to 350°F (175°C). Line a 9×13-inch baking pan with aluminum foil, letting it hang over the edges for easy lifting later. Lightly grease the foil with a bit of the melted butter or nonstick spray so the brownies release cleanly.
Pro Tip: The foil overhang makes removing the brownies a breeze.
Step 2: Mix the Batter
In a large mixing bowl, add the dry chocolate fudge cake mix (do not prepare it according to the box; use it dry). Pour in ¼ cup of the melted butter and crack in the 2 eggs. Stir with a sturdy spoon or spatula until the mixture is thick, glossy, and evenly combined. It will be stiffer than regular cake batter—more like a very thick brownie batter.
Pro Tip: Don’t prepare the cake mix according to the box—use it dry.
Step 3: Spread in the Pan
Scrape the batter into the prepared foil-lined pan. Use the back of a spoon or an offset spatula to press and spread it into an even layer, making sure it reaches all the corners. Because the batter is thick, take your time and smooth the top as best you can so it bakes evenly.
Pro Tip: Press the batter into the corners for even baking.
Step 4: Bake to Fudgy Perfection
Bake on the center rack of the preheated oven for 18–22 minutes, or until the top looks set and a toothpick inserted in the center comes out with moist crumbs but not wet batter. These are meant to be fudgy, so don’t overbake. While the brownies are baking, prepare the simple frosting so it’s ready to pour over the warm base.
Pro Tip: Don’t overbake—these are meant to be fudgy.
Step 5: Make the Frosting
For the frosting, place the powdered sugar in a medium bowl. Add the remaining ¼ cup melted butter. Pour in 2–3 tablespoons of hot water, 1 tablespoon at a time, stirring after each addition, until the frosting becomes smooth, thick, and pourable. You want it to be glossy and able to spread on its own but not runny. If it gets too thin, add a spoonful more powdered sugar; if it’s too thick, add a few more drops of hot water.
Pro Tip: Add the hot water gradually until the frosting reaches the perfect pourable consistency.
Step 6: Frost the Hot Brownies
As soon as the brownies come out of the oven, set the hot pan on a heatproof surface and immediately pour the warm frosting over the hot brownie surface. Gently tilt the pan or use a spatula to help the frosting flow into an even, thick, glossy layer that covers the entire top. The warmth of the brownies will help the frosting settle into that classic lunch-lady sheen.
Pro Tip: Pour the frosting over the hot brownies immediately—the heat helps it spread and set.
Step 7: Cool and Serve
Let the brownies cool in the pan on a wire rack until the frosting is set and the brownies are just slightly warm, 30–45 minutes. Using the foil overhang, lift the whole slab out of the pan and place on a cutting board. Peel the foil away from the sides, then cut into 12 generous squares (or smaller pieces if you prefer). Serve warm or at room temperature, right off the foil-lined tray for that nostalgic, no-fuss cafeteria feel.
Pro Tip: For clean cuts, dip your knife in hot water and wipe it dry between slices.
How to Serve It Like a Pro
These lunch lady brownies are delicious on their own, but a few simple touches make them even better:
-
With a glass of cold milk – Classic pairing.
-
With a cup of coffee – The bitterness balances the sweetness.
-
With a scoop of vanilla ice cream – For a decadent dessert.
-
With a drizzle of caramel – For extra sweetness.
-
With a sprinkle of flaky sea salt – For sweet-salty contrast.
-
With fresh berries – For a pop of color and freshness.
-
On a holiday dessert tray – Arrange with other treats.
-
In a gift box – Package with parchment between layers.
-
At a bake sale – Always the first thing to sell out.
-
With a glass of bourbon – For an adult treat.
Variations & Swaps (Because Life Happens)
One of the best things about this recipe is how flexible it is. Here are some easy ways to make it your own:
Make It with Different Cake Mixes
-
Devil’s food cake mix – For a darker, richer brownie.
-
German chocolate cake mix – For a milder chocolate flavor.
-
Yellow cake mix – For a blonde brownie.
-
Red velvet cake mix – For a colorful twist.
-
Strawberry cake mix – For a fruity twist.
Make It with Add-Ins
-
Chocolate chips – For gooey chocolate pockets.
-
Chopped nuts – Pecans or walnuts for crunch.
-
Toffee bits – For buttery crunch.
-
Mini marshmallows – For gooeyness.
-
Shredded coconut – For a tropical twist.
-
Dried cranberries – For tang.
Make It with Different Frostings
-
Chocolate frosting – For double chocolate.
-
Cream cheese frosting – For tang.
-
Peanut butter frosting – For a nutty twist.
-
Vanilla frosting – For a classic finish.
-
Caramel frosting – For extra sweetness.
Make It Spicier
-
Add cayenne – A pinch for heat.
-
Add cinnamon – A pinch for warmth.
-
Add ginger – A pinch for zing.
Make It Gluten-Free
-
Use gluten-free chocolate fudge cake mix.
Pro Tips for the Best Lunch Lady Brownies
-
Use the dry cake mix. Don’t prepare it according to the box.
-
Don’t overbake. These are meant to be fudgy.
-
Make the frosting while the brownies bake.So it’s ready to pour immediately.
-
Pour the frosting over the hot brownies.The heat helps it spread and set.
-
Tilt the pan. Helps the frosting flow into an even layer.
-
Let them cool completely. The frosting needs to set.
-
Use the foil overhang. Makes removing the brownies easy.
-
Use a hot knife. Dip your knife in hot water and wipe dry between cuts.
-
Store in an airtight container. Keeps them fresh for up to 5 days.
-
Make extra. They disappear fast!
Frequently Asked Questions
Can I use a different type of cake mix?
Yes. Devil’s food, German chocolate, yellow, red velvet, or strawberry cake mix all work beautifully.
Can I use salted butter?
Yes. Salted butter adds a nice contrast to the sweet frosting.
Can I make these without eggs?
No. The eggs are essential for structure and richness.
Can I add chocolate chips?
Absolutely! Chocolate chips add gooey chocolate pockets.
Can I make these ahead of time?
Yes. These brownies taste even better the next day. Store in an airtight container for up to 5 days.
How long do leftovers last?
Store in an airtight container at room temperature for up to 5 days.
Can I freeze these brownies?
Yes. Wrap individual brownies tightly in plastic wrap and freeze for up to 3 months. Thaw at room temperature before serving.
Why are my brownies dry?
You may have overbaked them. Check at the minimum time. The brownies should be fudgy, not cakey.
Why is my frosting too thin?
Add a spoonful more powdered sugar until it reaches the desired consistency.
Why is my frosting too thick?
Add a few more drops of hot water until it reaches the desired consistency.
Can I use a different frosting?
Yes. Chocolate, cream cheese, peanut butter, vanilla, or caramel frosting all work beautifully.
Is this recipe gluten-free?
Use gluten-free chocolate fudge cake mix for a gluten-free version.
Storage & Reheating
Room Temperature
-
Store in an airtight container for up to 5 days.
Refrigerator
-
Store in an airtight container for up to 1 week. Bring to room temperature before serving.
Freezer
-
Wrap individual brownies tightly in plastic wrap, then store in a freezer bag for up to 3 months.
-
Thaw at room temperature before serving.
Reheating Tips
-
Oven: Warm at 300°F for 5-7 minutes.
-
Microwave: Heat in 15-second intervals until warm.
-
Air Fryer: Warm at 300°F for 3-5 minutes.
Make-Ahead Tips
-
Prep Ahead: Measure the dry ingredients up to 3 days in advance.
-
Bake Ahead: Bake the brownies up to 5 days in advance and store in an airtight container.
-
Freeze Ahead: Freeze baked brownies for up to 3 months. Thaw and serve.
The Beauty of Simple, Fudgy, Nostalgic Lunch Lady Brownies
There’s something deeply satisfying about a recipe that delivers big flavor with minimal effort. These Southern 4-Ingredient Lunch Lady Brownies are the kind of treat that makes people happy—the kind that brings back childhood memories and creates new ones.
They’re not fancy. They’re not complicated. But they are reliable, crowd-pleasing, and absolutely delicious. And isn’t that what great brownies are all about?
So keep chocolate fudge cake mix, butter, eggs, and powdered sugar in your kitchen. And when you need a simple, impressive treat that delivers big flavor with minimal fuss, you’ll know exactly what to make.
Final Verdict
Rating: 5 out of 5
Difficulty: Easy
Prep Time: 10 minutes
Cook Time: 18-22 minutes
Cooling Time: 30-45 minutes
Total Time: Approximately 1 hour
Yield: 12 brownies
Cleanup: Minimal (one bowl + one baking pan)
Leftover potential: Excellent — store in an airtight container for up to 5 days
Best for: Bake sales, potlucks, holiday trays, and anytime you need a crowd-pleasing treat