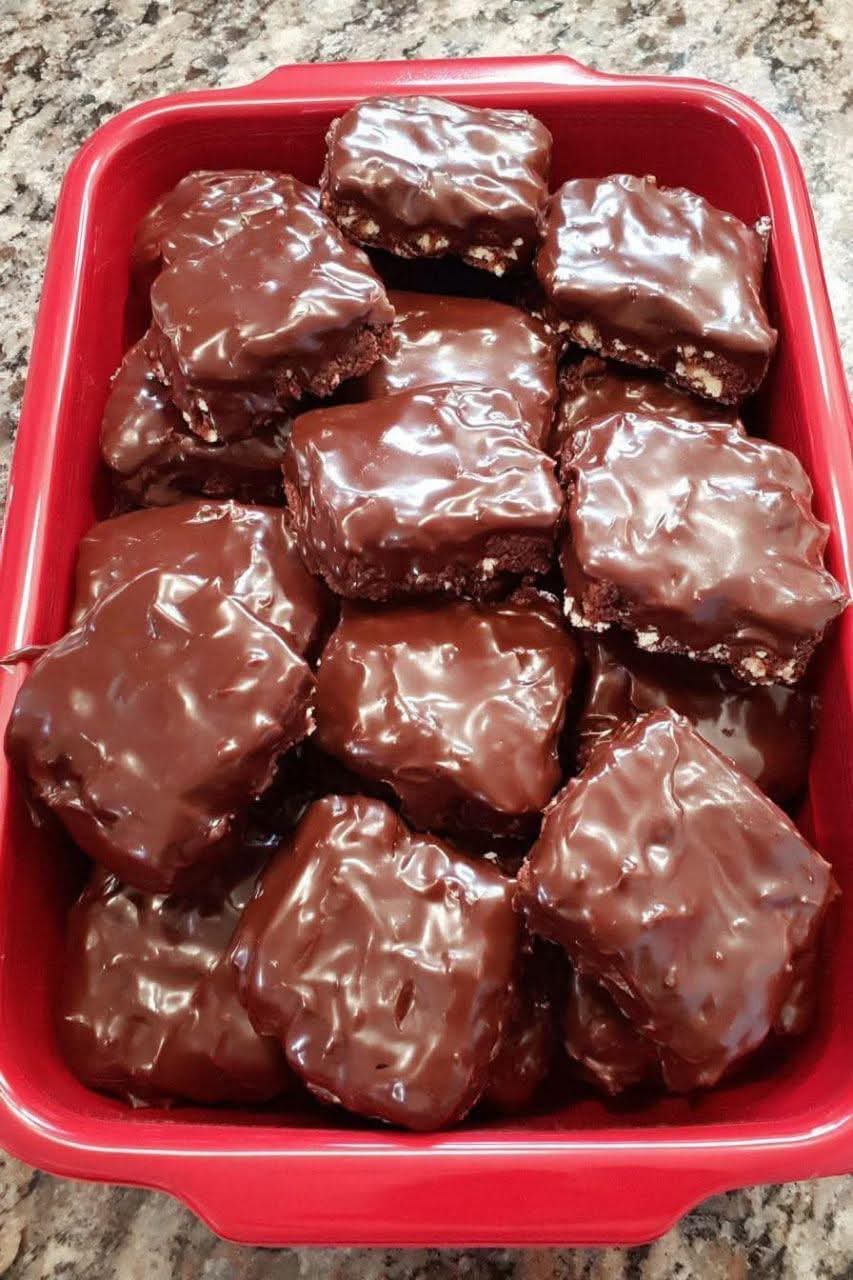
Chocolate Covered Brownie Bars (Ultra Rich & Fudgy – Full Detailed Recipe)
These Chocolate Covered Brownie Bars are the perfect combination of a dense, fudgy brownie center and a smooth, glossy chocolate shell. They’re ideal for desserts, bake sales, parties, or as a premium sweet treat with coffee. This long, detailed recipe gives you bakery-style results with clear tips and variations.
MWhy You’ll Love This Recipe
- Extremely fudgy texture, not cakey
- Thick chocolate coating with a clean snap
- Easy ingredients, no mixer required
- Perfect for slicing into neat bars
- Stores well and freezes beautifully
Ingredients
For the Brownie Layer
- 7 oz (200 g) dark chocolate (60–70% cocoa recommended)
- ¾ cup (170 g) unsalted butter
- 1 cup (200 g) granulated sugar
- ½ cup (100 g) brown sugar (adds moisture)
- 2 large eggs, room temperature
- 1 tsp vanilla extract
- ¾ cup (95 g) all-purpose flour
- ¼ cup (25 g) unsweetened cocoa powder
- ½ tsp salt
- ½ tsp espresso powder (optional, enhances chocolate flavor)
For the Chocolate Coating
- 7 oz (200 g) dark or milk chocolate
- 1 tbsp coconut oil or unsalted butter
Equipment Needed
- 9×9 inch (23×23 cm) square pan
- Parchment paper
- Heatproof bowl
- Whisk and spatula
- Sharp knife
Step-by-Step Instructions
1. Prepare the Pan
Line your pan with parchment paper, leaving overhang on the sides. This makes lifting and slicing much easier later. Preheat oven to 340°F (170°C).
2. Melt Chocolate and Butter
In a heatproof bowl, melt the dark chocolate and butter together using a double boiler or microwave (30-second intervals, stirring each time).
Let the mixture cool slightly so it doesn’t cook the eggs.
3. Add Sugars and Eggs
Whisk in the granulated sugar and brown sugar until smooth and glossy.
Add eggs one at a time, whisking well after each.
Stir in vanilla extract.
This step builds that shiny, crackly brownie top.
4. Mix Dry Ingredients
In a separate bowl, sift together:
- Flour
- Cocoa powder
- Salt
- Espresso powder (if using)
Fold gently into the wet mixture using a spatula. Do not overmix
stop as soon as no dry streaks remain.
5. Bake
Pour batter into the prepared pan and smooth the top.
Bake for 20–25 minutes.
A toothpick should come out with moist crumbs, not wet batter.
Overbaking will dry the brownies.
6. Cool Completely
Let brownies cool in the pan for at least 1 hour, then lift out and chill in the fridge for 30 minutes before slicing. This ensures clean edges.
7. Slice into Bars
Use a sharp knife, wiping it clean between cuts. Slice into even rectangular bars.
Chocolate Coating
8. Melt the Coating Chocolate
Melt the chocolate with coconut oil or butter until smooth and shiny.
9. Coat the Brownie Bars
Dip each brownie bar into the melted chocolate or spoon chocolate over the top.
Place on parchment paper.
Optional:
- Sprinkle with sea salt
- Add crushed nuts
- Drizzle white chocolate on top
10. Set the Chocolate
Refrigerate for 15–20 minutes, or until the coating is fully set.
Texture & Flavor Notes
- Center: Dense, rich, ultra-fudgy
- Outside: Smooth chocolate shell with a slight snap
- Flavor: Deep chocolate, not overly sweet
Storage Instructions
- Room temperature: 2 days (cool place)
- Refrigerator: up to 7 days
- Freezer: up to 2 months (wrap individually)
Variations
- Peanut Butter: Add a thin peanut butter layer before coating
- Mint: Add ½ tsp peppermint extract to coating
- Caramel: Drizzle caramel over brownies before dipping
- Nutty: Fold walnuts or pecans into the batter
Pro Tips for Perfect Results
- Use high-quality chocolate – it makes a big difference
- Always cool brownies fully before coating
- Chill before cutting for sharp edges
- For extra shine, add a little coconut oil to the coating
- If you want: